Description
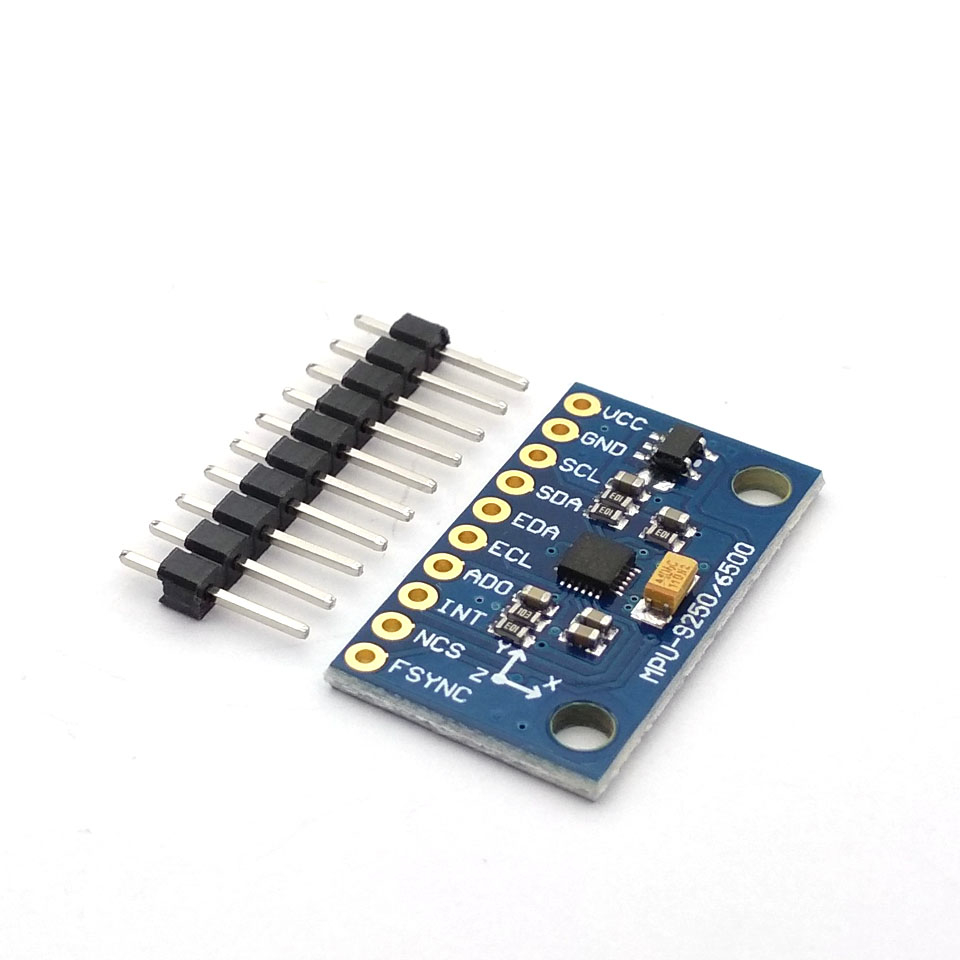
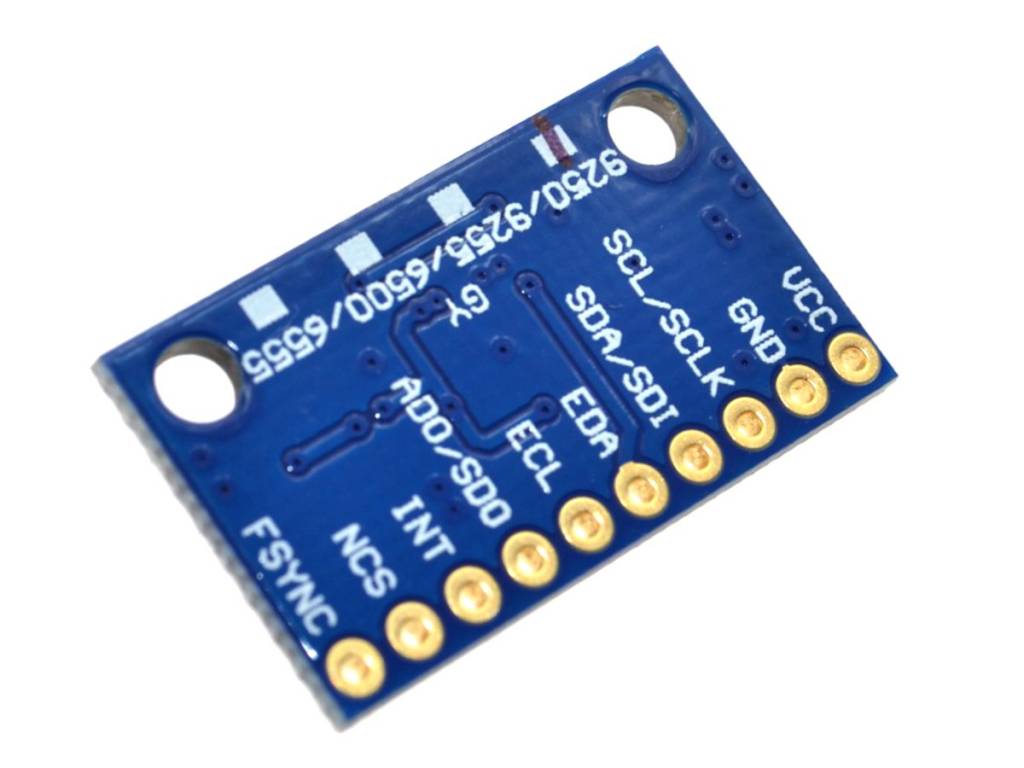
The MPU-9250 is a 9-axis motion tracking device that combines a 3-axis gyroscope, 3-axis accelerometer, 3-axis magnetometer and a Digital Motion Processor™ (DMP) all in a small board available as a pin-compatible upgrade from the MPU-6515. With its dedicated I2C sensor bus, the MPU-9250 directly provides complete 9-axis MotionFusion™ output. The MPU-9250 MotionTracking device, with its 9-axis integration, on-chip MotionFusion™, and run-time calibration firmware, enables manufacturers to eliminate the costly and complex selection, qualification, and system level integration of discrete devices, guaranteeing optimal motion performance for consumers. MPU-9250 is also designed to interface with multiple non-inertial digital sensors, such as pressure sensors, on its auxiliary I2C port.
Applications
- TouchAnywhere™ technology (for “no touch” UI Application Control/Navigation)
- MotionCommand™ technology (for Gesture Short-cuts)
- Motion-enabled game and application framework
- Location based services, points of interest, and dead reckoning
- Handset and portable gaming
- Motion-based game controllers
- 3D remote controls for Internet connected DTVs and set top boxes, 3D mice
- Wearable sensors for health, fitness and sports
Features
- Three 16-bit analog-to-digital converters (ADCs) for digitizing the gyroscope outputs
- Three 16-bit ADCs for digitizing the accelerometer outputs
- Three 16-bit ADCs for digitizing the magnetometer outputs
- Gyroscope full-scale range of ±250, ±500, ±1000, and ±2000°/sec (dps)
- Accelerometer full-scale range of ±2g, ±4g, ±8g, and ±16g
- Magnetometer full-scale range of ±4800μT
- I2C and SPI serial interfaces
- I2C Address: 0x68 by default, 0x69 if AD0 is pulled high
Specifications
- Power supply: DC 3.3V
- Working current: 3.5mA
- Sleeping current: 8uA
- 3-Axis Accelerometer
- Range: up to ± 16 g
- Sensitivity: up to 16,384 LSB/g
- 3-Axis Gyroscope
- Range: up to ± 2000 deg/sec
- Sensitivity: up to 131 LSB/deg/sec
- 3-Axis Magnetometer
- Range: ± 4800 µT
- Sensitivity: 0.6 µT/LSB
- 2.54mm pin spacing
- Module size 15mm X 25mm
Getting started with 9-Axis Attitude Gyro Accelerator Magnetometer GY-9250 and Arduino UNO
Step1: Hardware required
Step2: Connecting the Hardware

GY-9250 Arduino UNO
VCC Connected to 3.3v
GND Connected to GND
SCL Connected to A5
SDA Connected to A4
Step3: Making the sketch and Testing
To test the Arduino MPU 9250, first download the Arduino library for MPU 9250, you can find it here Next, you have to unzip/extract this library, take the folder named “MPU9250”, and paste it inside the Arduino’s “library” folder. To do this, go to the location where you have installed Arduino (Arduino –> libraries) and paste it inside the libraries folder.
If you have done this correctly, when you open the Arduino IDE, you can see “MPU9250” in File –> Examples. Next, open the example program from File –> Examples –> MPU9250 –> Simple

Serial Monitor

Step6: Documents
MPU-6050 Library download it here


