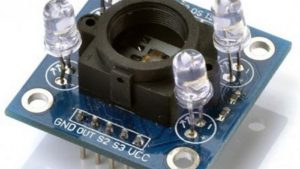
Description
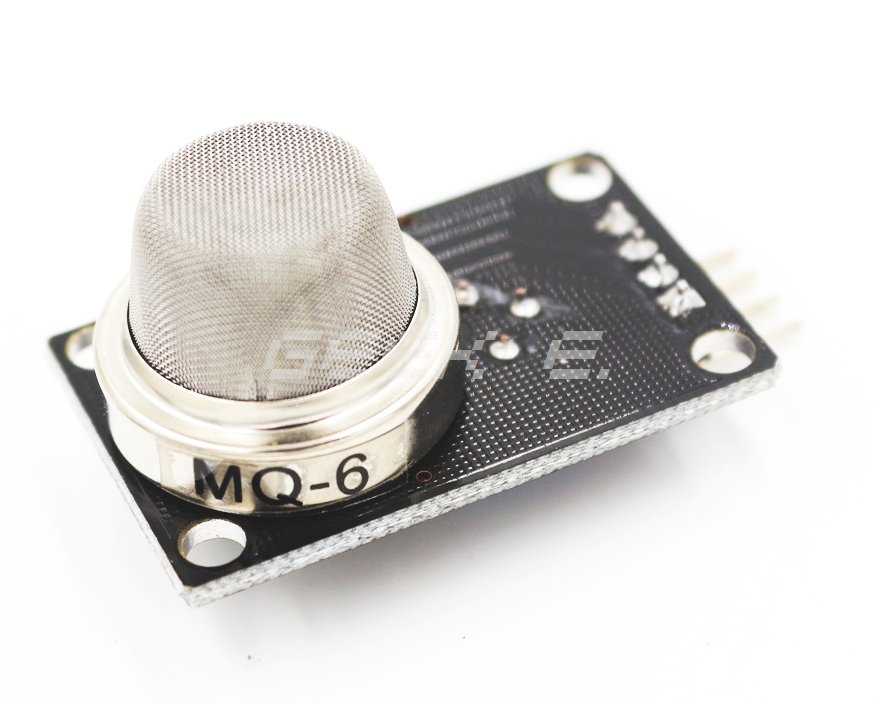
This is a liquefied petroleum gas (LPG) sensor, suitable for sensing LPG (composed of mostly propane and butane) concentrations in the air. The MQ-6 can detect gas concentrations anywhere from 200 to 10000ppm.
FEATURES
- High sensitivity to LPG, iso-butane, propane
- Fast response .
- Stable and long life
APPLICATION
They are used in gas leakage detecting equipment in family and industry, are suitable for detecting of LPG, iso-butane, propane.
Getting started with the LPG Gas Sensor MQ-6
For this tutorial, I will be using the MQ-6 breakout board. The MQ-6 is a semiconductor device for detecting the levels of propane and butane in the air. Since liquefied petroleum gas (LPG) is composed of these two gases, then the MQ-6 can be used as a LPG sensor.
Where to use MQ-6 Gas sensor?
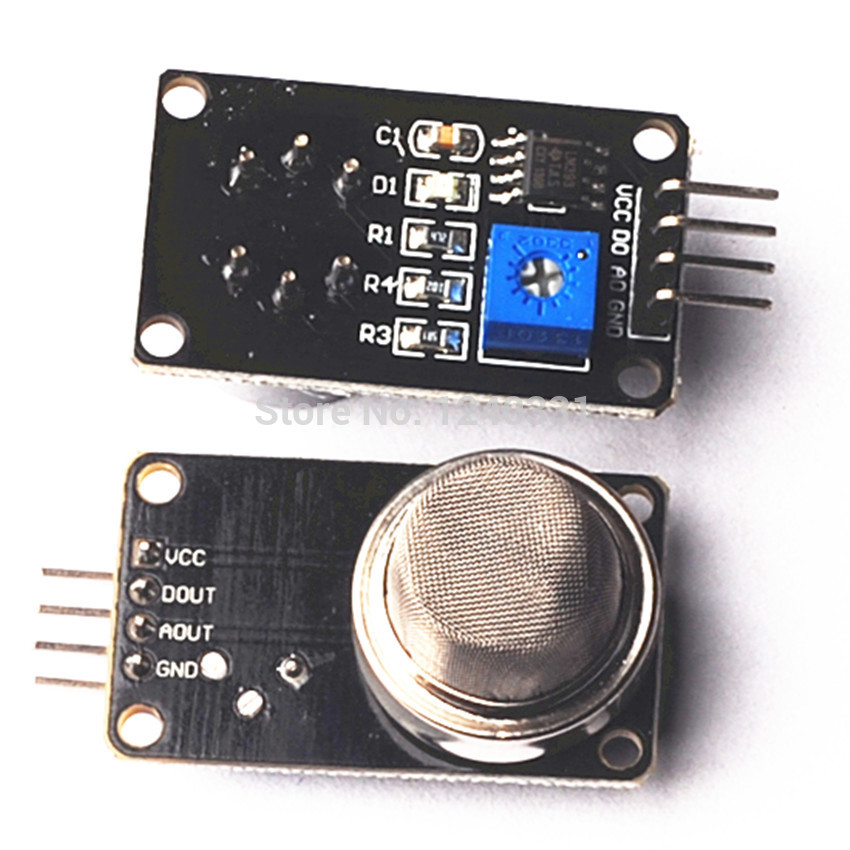
The MQ-6 Gas sensor can detect or measure gases like LPG and butane. The MQ-6 sensor module comes with a Digital Pin which makes this sensor to operate even without a microcontroller and that comes in handy when you are only trying to detect one particular gas. When it comes to measuring the gas in ppm the analog pin has to be used, the analog pin also TTL driven and works on 5V and hence can be used with most common microcontrollers.
So if you are looking for a sensor to detect or measure gasses like LPG, or methane with or without a microcontroller then this sensor might be the right choice for you.
How to use MQ-6 Sensors to Detect gas?
Using a MQ-6 sensor it detect a gas is very easy. You can either use the digital pin or the analog pin to accomplish this. Simply power the module with 5V and you should notice the power LED on the module to glow and when no gas it detected the output LED will remain turned off meaning the digital output pin will be 0V. Remember that these sensors have to be kept on for pre-heating time (mentioned in features above) before you can actually work with it. Now, introduce the sensor to the gas you want to detect and you should see the output LED to go high along with the digital pin, if not use the potentiometer until the output gets high. Now every time your sensor gets introduced to this gas at this particular concentration the digital pin will go high (5V) else will remain low (0V).
You can also use the analog pin to achieve the same thing. Read the analog values (0-5V) using a microcontroller, this value will be directly proportional to the concentration of the gas to which the sensor detects. You can experiment with this values and check how the sensor reacts to different concentration of gas and develop your program accordingly.
How to use MQ-6 sensor to measure PPM?
If you are looking for some accuracy with your readings then measuring the PPM would be the best way to go with it. It can also help you to distinguish one gas from another. So to measure PPM you can directly use a module. A basic wiring for the sensor from datasheet is shown below.

The procedure to measure PPM using MQ sensor is the same but few constant values will vary based on the type of MQ sensor used. Basically we need to look into the (Rs/Ro) VS PPM graph given in the MQ-6 datasheet, and also shown below.

The value of Ro is the value of resistance in fresh air and the value of Rs is the value of resistance in Gas concentration. First you should calibrate the sensor by finding the values of Ro in fresh air and then use that value to find Rs using the formulae.
Resistance of sensor(Rs)=(Vc/VRL-1)×RL
Once we calculate Rs and Ro we can find the ratio and then using the graph shown above we can calculate the equivalent value of PPM for that particular gas.
MQ-6 Gas Leak Detector
If you want to detect only the presence of LPG in the air, you only need to connect the AO pin to any analog pin of the Arduino UNO. Then you must determine the threshold value by placing the MQ-6 near a safe LPG source (like an unignited gas stove) and record the reading.
Note that the MQ-6 needs at least 20 seconds to warm up.
You can use this Arduino sketch for determining the threshold value. Connect the AO pin to the Arduino UNO’s A0 pin:
float sensorValue;
float sensorVolts;
void setup()
{
Serial.begin(9600); // sets the serial port to 9600
delay(20000); // allow the MQ-6 to warm up
}
void loop()
{
for(int i = 0; i < 100; i++){
sensorValue = sensorValue + analogRead(0); // read analog input pin 0
}
sensorValue = sensorValue / 100; // get average reading
sensorVolts = sensorValue/1024*5.0; //convert to voltage
Serial.println(sensorVolts); // prints the value read
delay(100); // wait 100ms for next reading
}
For example, if the value in the serial monitor reaches 1.4 V when near the LPG source, then that is your threshold value. You can then proceed to using this sketch
float sensorValue;
float sensorVolts;
void setup()
{
Serial.begin(9600); // sets the serial port to 9600
delay(20000); // allow the MQ-6 to warm up
}
void loop()
{
for(int i = 0; i < 100; i++){
sensorValue = sensorValue + analogRead(0); // read analog input pin 0
}
sensorValue = sensorValue / 100; // get average reading
sensorVolts = sensorValue/1024*5.0; //convert to voltage
if(sensorVolts > 1.4){
Serial.println(“LPG gas detected!”);
}
delay(100); // wait 100ms for next reading
}
Of course, 1.4V is just an example. You must test your device to determine the actual threshold value.
NOTE: IF you get stray ‘223’ errors The problem is with your “ and ” characters. Replace them with ordinary quotes, ", and you should be fine.

