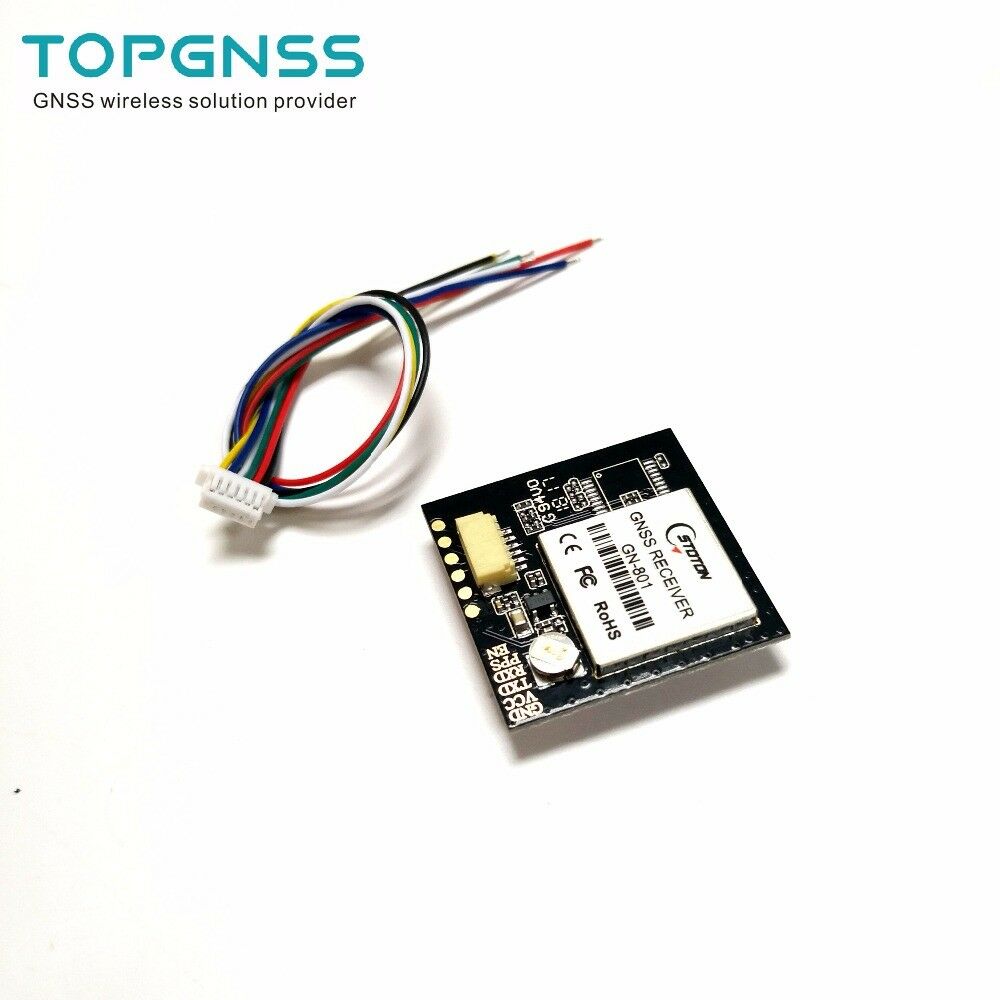
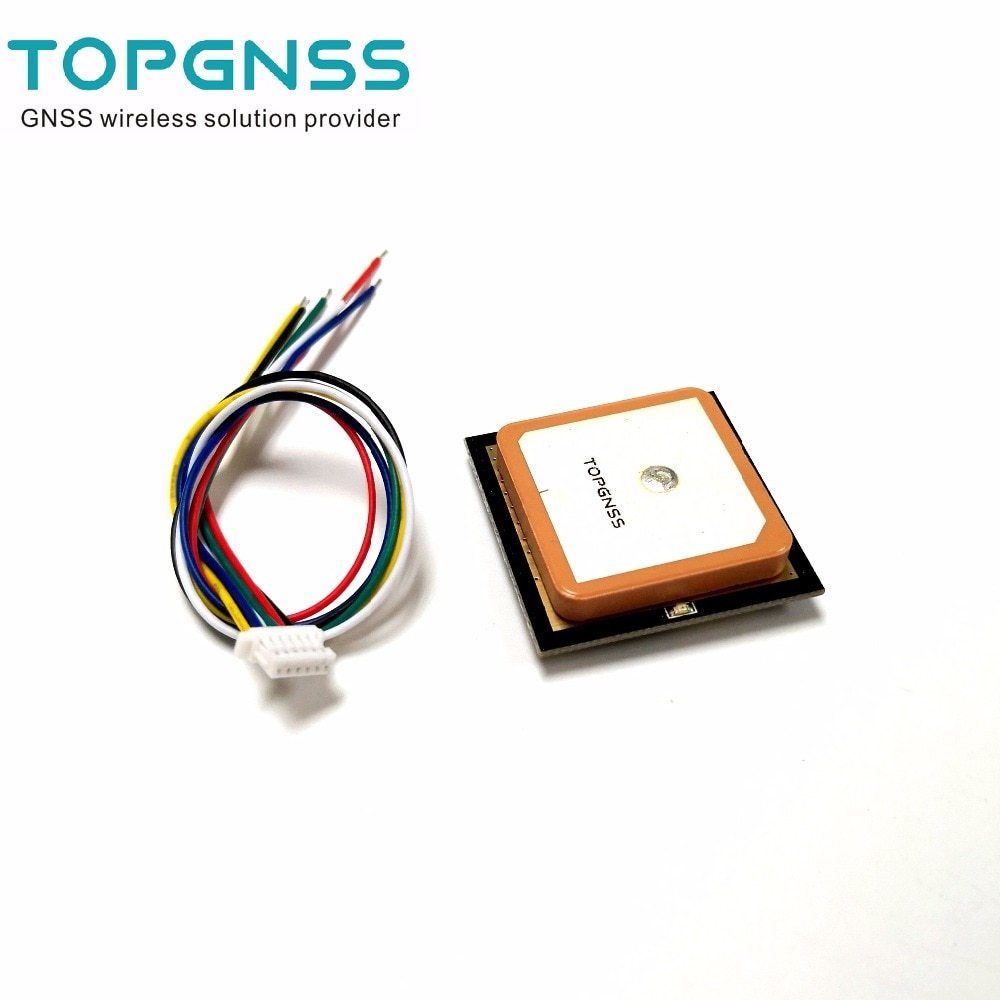
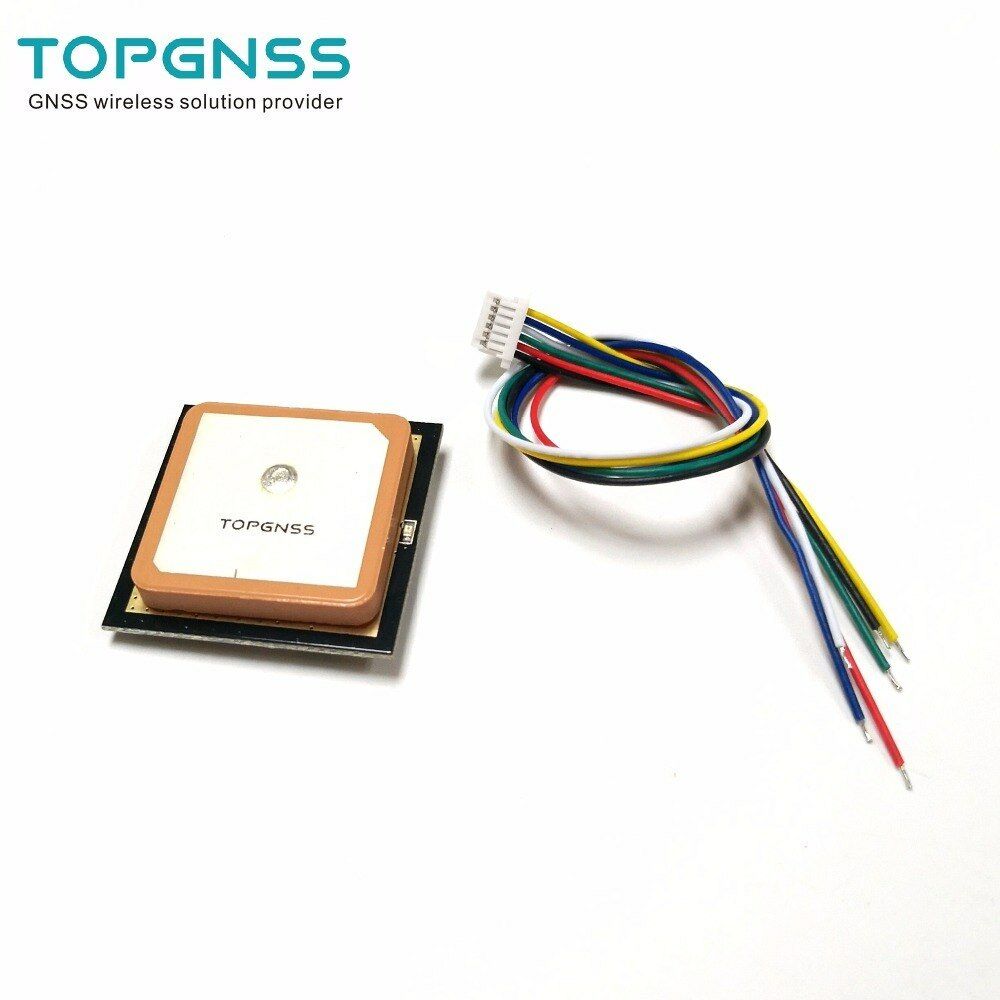
Description
|
GN-801 performance of GNSS TOPGNSS Module |
|
|
GNSS CHIP |
UBX-M8030-KT |
|
Frequency |
L1, 1575.42 MHz |
|
Protocol |
NMEA 0183 v2.3, 4.x GPS / QZSS L1 C / A, GLONASS L10F Bei B1 SBAS L1 C / A: WASS, EGNOS, MSAS, support Galileo E1B / C. Default GPS + GLONASS Mode |
|
Available baud rate |
(Default 9600) can be set 1200.4800, 19200.38400, 57600,115200bps |
|
Reception channel |
72 |
|
Sensitivity |
Tracking Sensitivity: -160Dbm Capture Sensitivity: -157dBm |
|
Cold start |
29 s average |
|
Warm start time |
28 s average |
|
Hot departure time |
1 s average |
|
Precision |
Horizontal position: autonomous <2.5 mm, SBAS <2.0 m average |
|
Maximum height |
18000 Counter |
|
Maximum speed |
515 m / s |
|
Maximum acceleration |
4G |
|
Frequency of update |
1-10Hz (default1HZ |
|
A-GPS |
Online and offline support |
|
Work output level |
|
|
Output level |
TTL level output |
|
Physical characteristics |
|
|
BROOCH |
6 pins 1.0 not GND, VCC3.3-5V.TX.RX.PPS.EN |
|
Dimensions |
30mm x 30mm * 8.5mm |
|
Operating Voltage |
3.3V-5.0VDC ± 5% |
|
Weight |
8.5g |
|
Connector form |
1.0 6 PINS |
|
Cable length: |
15 CM |
|
Operating temperature |
-40 to 85 |
|
Storage temperature |
-40 to 85 |
Getting started with the Gps/ GPS Module GN-801
we’re going to look at how GPS can show us longitude and latitude coordinate of our current locations.
Hardware required
Connecting the Hardware
To connect your GPS module to Arduino, use a +5V from the power side of the Arduino and any ground pin. Any two pins will work for the serial communication.
- Connect Arduino pin Tx to the RX pin of the GPS Module.
- Connect Arduino pin Rx to the TX pin of the GPS Module.

Installing a library: TinyGPS++
before uploading the sample sketch you need to have the TinyGPS++ library if not download it TinyGPSPlus0.95a
install the library by extracting that zipped file in the library folder as shown below

Upload the sample sketch
#include <TinyGPS++.h>
#include <SoftwareSerial.h>
static const uint32_t GPSBaud = 9600;
TinyGPSPlus gps;
float Long,Lat;
void setup() {
Serial.begin(9600); // put your setup code here, to run once:
}
void loop() {
// put your main code here, to run repeatedly:
get_gps_data();
}
void get_gps_data(){
while (Serial.available() > 0){
gps.encode(Serial.read());
if (gps.location.isUpdated()){
Lat=gps.location.lat();
Long=gps.location.lng();
Serial.println(gps.location.lat());
Serial.println(gps.location.lng());}}}
Before to upload the program , Tx and Rx of arduino and GPS must be disconnected then Upload the program and open up the serial monitor from the Arduino IDE. Remember to select 9600 baud. you can now see the coordinates (Longitude ,Latitude) of the place you are.


