Description
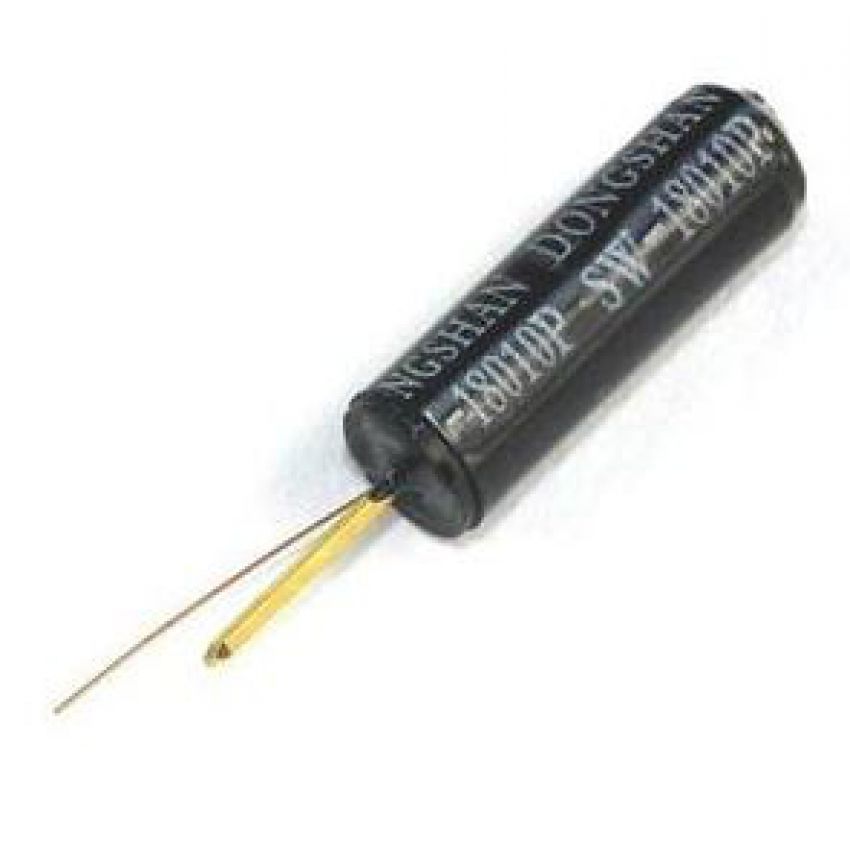
- SW-18015P/20P series are spring type, no directional vibration
- Sensor trigger switch any angle can trigger.
- Switch have identification P at the bottom, completly airtight
- In the normal, switch life can reach 200000 cycles lifespan
- This series switches have trigger high sensitivity
- Apply to security devices toys electronic scales products
Getting started Electronic Vibration Sensor.
In this tutorial we will use one vibration sensor or shake switch to make a beep sound from a buzzer while we shake our breadboard.
Step1: Hardware required
For this tutorial you will need:
- Arduino uno
- Breadboard
- Vibration Sensor
- Jumper wires
Step2: Connecting the hardware

The connections are pretty easy.
- Connect one pin of vibration sensor to Arduino Analog pin A0 and the other to 5V pin.
- Now connect the buzzer, one pin to Arduino pin 8 and the other to GND.
Step3: Making the code and Upload it!
/* Vibration Sensor (Shake Switch) - Testing with buzzer

   In this tutorial we will use one vibration sensor (or shake switch)
   to make a beep sound from a buzzer while we shake our breadboard.

   Find more info and video here: http://bit.ly/1iDbc2Q

   Dev: Michalis Vasilakis - Date: 9/9/2015 - www.ardumotive.com       */

const int buzzer = 8; //Buzzer connected to pin 8 of Arduino uno / mega
int sensor;           //Variable to store analog value (0-1023)

void setup()
{
	Serial.begin(9600);      //Only for debugging
	pinMode(buzzer, OUTPUT);
}

void loop()
{
	sensor = analogRead(A0);
	//While sensor is not moving, analog pin receive 1023~1024 value
	if (sensor<1022){
		tone(buzzer, 500);
		Serial.print("Sensor Value: ");
		Serial.println(sensor);
	}
	else{
		noTone(buzzer);
		Serial.print("Sensor Value: ");
		Serial.println(sensor);
	}
	delay(100); //Small delay
}

Then Upload
|
Download the code from here and open it with Arduino IDE. Open the serial monitor from tools menu of Arduino IDE to test it.
|

